Showing posts with label kid-approved. Show all posts

Tuesday, December 16, 2014

Delicious Gingerbread Cookie Recipe


I have to admit I’ve never been a fan of Gingerbread Cookies. They’re sort of hard and taste a little like spicy cardboard. But we just got this adorable Christmas book called “The Gingerbread Mouse” that comes with a recipe for gingerbread cookies, which prompted my children to ask if we could make them. I thought, sure, that sounds fun, even if they aren’t worth their weight in calories. But I was wrong! These cookies are damn good. Contrary to the visions of gingerbread cookies in my head, these were soft, moist, and, well… DELICOUS!

So here you go my friends, the first and only delicious gingerbread cookie recipe, compliments of The Gingerbread Mouse.

Ingredients
2 ½ cups all-purpose flour
½ teaspoon baking soda
2 ½ teaspoons ground ginger
½ teaspoon ground cloves
1 ½ teaspoons cinnamon
1 2/4 sticks (14 tablespoons) butter, softened
1 cup packed brown sugar
1 large egg
1 teaspoon vanilla extract
 
Directions
Sift flour, baking soda, ginger, cinnamon and cloves into a large bowl. Beat butter and brown sugar in a medium bowl until creamy. Add egg, vanilla extract and beat until blended. Stir flour mixture into butter mixture, blending well. Refrigerate dough until firm (about 30-45 minutes). Preheat oven to 350 degrees. Roll out a portion of the chilled dough onto a floured surface. Cut cookie shapes with a knife or cookie cutter. Bake cookies on a cookie sheet (I used parchment paper too) for 9 minutes. Cool cookies on wire rack. Frost cookies with your favorite icing (I cheated and bought some at the store that was already in an easy to use tube) and your favorite sprinkles, etc.


Happy Holidays!


Monday, March 10, 2014

Apple Oatmeal Coffee Cake Muffins


I used to not be much of a baker. Something about measuring things precisely always intimidated me; I much preferred the creativity in cooking. But lately something has shifted. Somehow, I’ve found myself really enjoying following directions and always (almost) getting perfect results. Maybe I’m finally growing up.

The boys have started enjoying it too. They wake up on Saturday or Sunday mornings and ask me to make muffins, waffles, or banana bread. Ansen’s favorite was Amish Friendship Bread and I was really good about keeping a starter going for a while and then I finally failed at keeping it alive. So one morning when he woke up and asked for Friendship Bread, I had to break the news. No more friendship bread. But it got me looking through my Betty Crocker Cookbook for something Ansen would accept in its place and I found this amaze-ball recipe. I’ve made it several time since and I’m proud to say it has now taken the place of the Friendship Bread. And there’s no starter to babysit and keep cool but not too cool and massage/squash every day.

Apple Oatmeal Coffee Cake Muffins
(recipe from Betty Crocker)
Prep: 25 min; Bake: 20-25 Min for Muffins, 55 Min. for Cake

Ingredients
Oat-Streusel Topping (below)
1 ¾ cups all-purpose flour
1 cup packed brown sugar
¾ cup old-fashioned oats
½ cup stick butter, softened
1 cup buttermilk
3 teaspoons baking powder
1 teaspoon ground cinnamon
½ teaspoon baking soda
¼ teaspoon salt
¼ teaspoon ground nutmeg
1 large egg
1 ½ cups chopped apples (2 small)

Directions

1.      Heat oven to 350 degrees. Grease bottom and sides of two muffin tins (or for cake 9 x 9 x 2 inches)

2.      Prepare Oat-Streusel Topping; set aside

3.      Beat remaining ingredients except apples in large bowl with electric mixer on low speed 30 seconds. Beat on medium speed 2 minutes, scraping bowl occasionally. Stir in apples. Pour batter in muffin tins (3/4 full) or in pan. Sprinkle with topping.

4.      Bake 20-25 minutes for muffins or 55 minutes for cake until golden brown and toothpick inserted in center comes out clean. Serve warm.

Oat-Streusel Topping

Ingredients 2 tablespoons butter, firm
¼ cup all-purpose flour
2 tablespoons packed brown sugar
½ teaspoon ground cinnamon
¼ cup old-fashioned oats

Directions

1.      Cut margarine into flour, brown sugar and cinnamon in medium bowl, using pastry blender or crisscrossing 2 knives until crumbly. Stir in oats.


Thursday, October 31, 2013

Simple and Delicious Beef Stew in a Crock Pot / Slow Cooker


I just found the easiest, most delicious beef stew recipe for the slow cooker/crock pot. Best part is it made two different meals! I’m not much of a meat eater, actually, but there’s something about slow-cooked beef and pork that makes me absolutely LOVE it. This recipe was so good, so easy, and low cost that it’s going to become an official recipe in the rotation. Which, is like, the highest form of flattery for a recipe.

Ingredients

1 package Stew Meat
2-3 potatoes, chopped
1-2 cups chopped carrots
2 packages French onion soup mix
1 tablespoon beef bouillon
2 tablespoons oil

Directions
Heat oil in a skillet and brown stew meat. Add chopped potatoes and carrots to the crock pot. Top with browned meat. Add soup mix and beef bouillon and as much water as you want. I made mine really brothy because I wasn’t sure how much water I’d need. I added about 6 cups of water. Which paid off for the second recipe (see below). Cook for 8 hours. Serve with crusty bread, or cheesy bread.


Night Two Ingredients

Leftover Stew
3 tablespoons butter
3 tablespoons flour
1 cup rice

Night Two Directions
Heat leftover stew and cook up some white or brown rice. When rice is done and stew is hot, melt the butter in a saucepan on medium heat and add flour. Stir together and heat up to make a roux. Slowly add about a cup at a time of stew broth until sauce is thick and creamy. Serve rice on bottom and use a slotted spoon to gather stew pieces and put on top of rice. Generously smother with your homemade gravy.

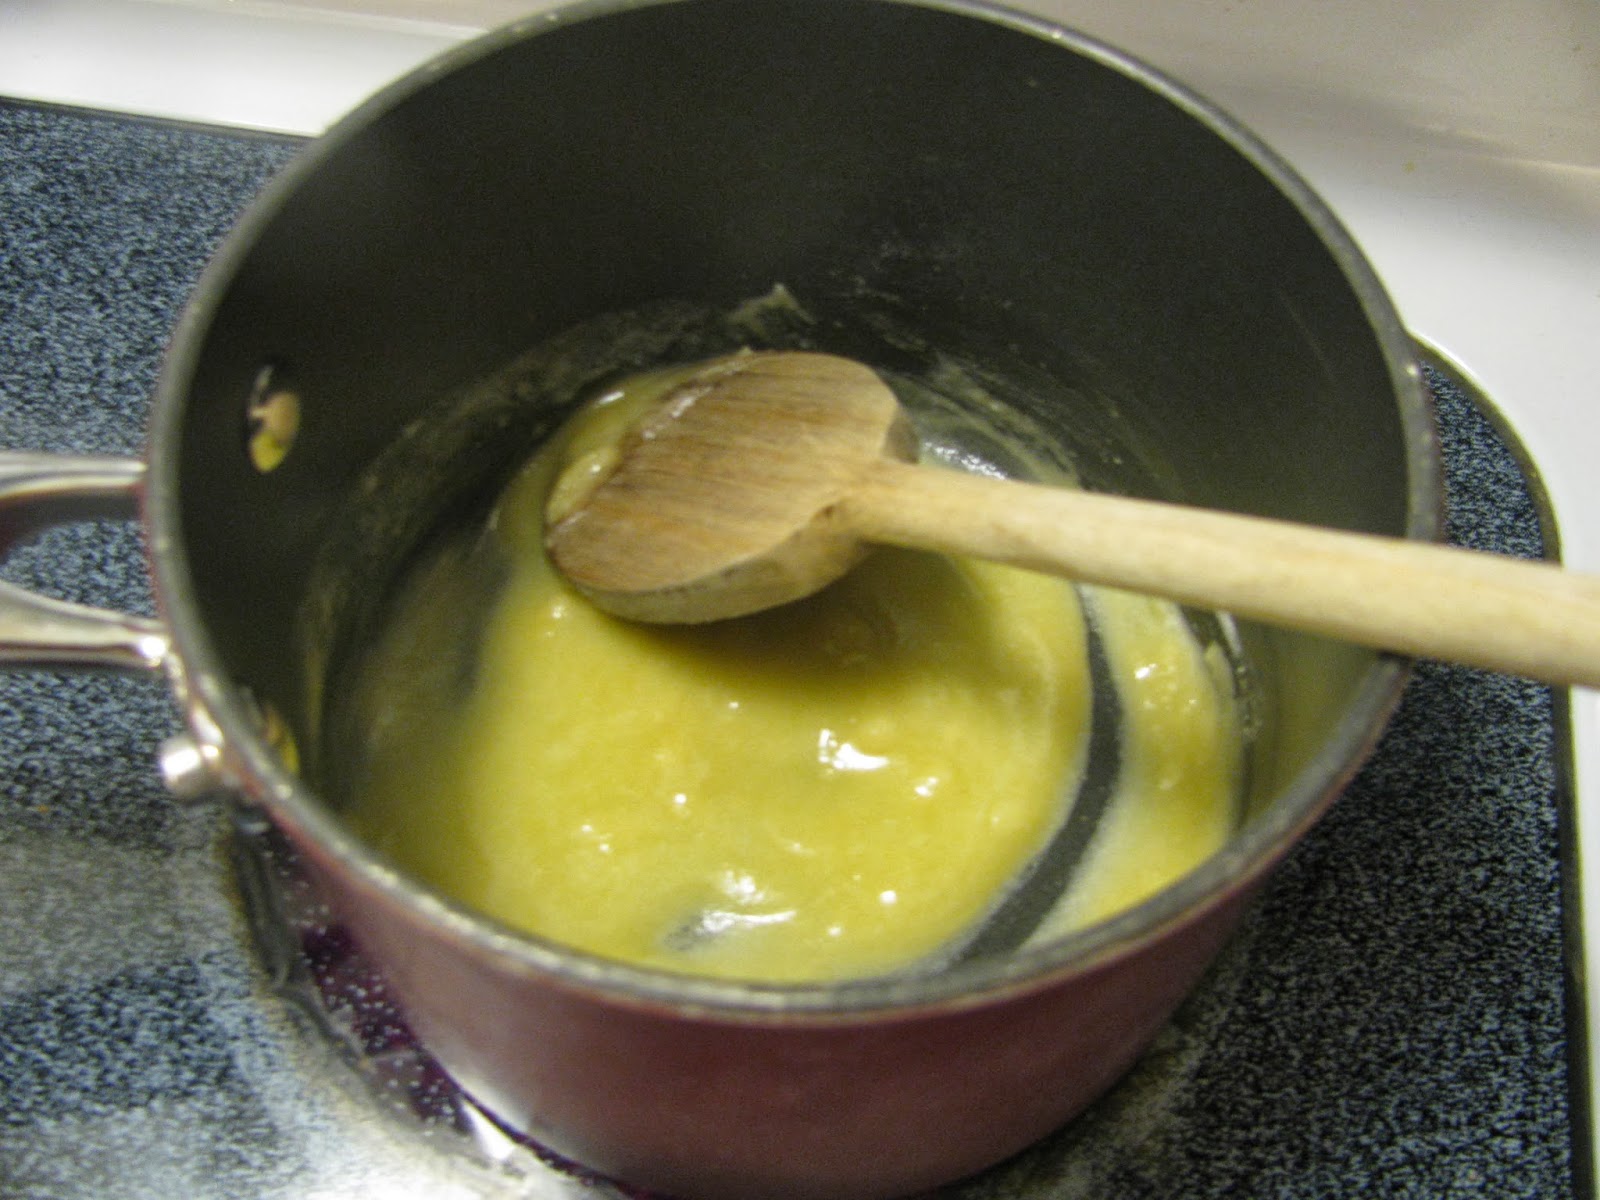
Making the roux
 
 
Ladel-ing some broth to add to the roux. Yes, I totally made up that word.
 
 
Home made gravy!


I thought the first night was good. This was even better. YUM!

And, since it’s Halloween, one of my favorite times of the year, here’s a picture of my fun crazy boys:
 

Thursday, October 17, 2013

Slow Cooker Pulled Pork Sandwiches


It’s not that I hate my job, OK? It’s just that there’s too much of it. It’s always getting in the way of the stuff I really want to be doing. Like cooking. And blogging. And blogging about cooking. And running. And reading. And taking a dog I don’t have on a walk. And playing with my kids. And shopping for cute boots. And anyway, my job has been getting in the way of what I want to be doing so much that I haven’t blogged for two months! So it’s totally fitting that this month is slow cooker month. Because lately, I don’t have time to cook and blog and blog about cooking. So I’ll make this real short and sweet.

Having a slow cooker is like having a sister wife who has stayed home all day slaving over a delicious meal. Except the sister wife is a robot and she doesn’t plan on stealing any kind of domestic goddess credit for herself and instead showers all of the praise onto me as soon as I walk in the door.

"It smells delicious in here Amber. And you look great today!"


We had some friends coming over for the Seahawks game so I asked my sister wife to make pulled pork sandwiches. Sister wife worked hard. I accepted the praise. It was totally delicious.

Pulled Pork Ingredients
3 lbs boneless pork shoulder
1 can (12 oz) tomato paste
2 tablespoons apple cider vinegar
3 crushed cloves of garlic
1 cup Sweet Baby Ray’s Hickory and Brown Sugar sauce

Rolls/buns of choice
Coleslaw

Cole slaw Ingredients
1 package rainbow slaw
3 tablespoons apple cider vinegar
2 tablespoons olive oil
Salt to taste

Directions
Spray slow cooker with cooking spray. Combine all pulled pork ingredients except the Hickory and Brown Sugar sauce. Cook for 6-8 hours. Sometime in between, combine Coleslaw ingredients, cover and place in the refrigerator. Shred the pork when it’s done and add the Hickory and Brown Sugar sauce. Serve on toasted buns or rolls topped with Coleslaw.


 Now if only my sister wife could clean the bathroom...

Monday, April 22, 2013

Homemade Mexican-style Pinto Beans


I’ve always been a bit of an over-achiever. This month’s theme of 2 in 1 meals, turned out to be 4 in 1 meals. For as long as we have done this blog, I’ve looked for a good excuse to post my family favorite recipe: All Day Beans. They’re actually Mexican-style pinto beans but my husband started calling them “All Day Beans” because, well, they take all day. It is a very long and loving process in which I cook them, stir them, coach them, spice them, sweet talk them, and mash them to perfection. And in the end we have a huge bowl of beans that we can use all week. And we really do use them all week. My mother always made these beans when I was growing up and the smell of them cooking still reminds me of home. We call them Buggy's Beans, because, well, we call her Buggy. Which is a story for another time. My brother also has his own version...but I'm not sure what he calls them. I'll get back to you on that. All three of us make them a little bit differently.
Anyway, this is a dream recipe for any busy family. All it takes is one weekend day when the chef is home to create meals for the rest of the week. What follows is the recipe on how to make the beans and four examples of what you can do with them.

Ingredients:
·         One 32 oz. bag of dried pinto beans
·         10 cups water (at least)
·         ½ onion, not sliced or diced
·         1 overly ripe tomato, whole
·         4 cubes chicken bouillon (or a couple of healthy spoonful’s of chicken bouillon granules)
·         1 tablespoon dried oregano
·         A few healthy dashes of Tapatio (or equivalent)
·         Freshly ground pepper
·         2-3 cloves garlic, diced
·         One lime, squeezed
·         (SAVE THE SALT FOR LATER OR YOUR BEANS WILL BE TOUGH)


To Soak or not to Soak?
Disregard any and all instructions on the bean packaging. They will tell you to soak your beans overnight. But if you do that, the beans will soak up the flavor of water and not the flavor of the broth you’re about to cook them in and then they don’t taste nearly as good. Also, if you soak them ahead of time it takes less time to cook them. But you have all day, right? There’s also information out there that will tell you that soaking the beans will make you less gassy. Our family has not found that to be true. Beans are the musical fruit. Regardless of whether or not you soak them.
Directions
Cooking the beans will take at least 6 hours. So, by 10:00 a.m., Rinse your dried beans and put them in a large pot on the stove. I love using a Dutch Oven to cook these. Add 10 cups of water. (As the beans cook they will soak this water up like a sponge so you may have to add more eventually). Add half onion, whole tomato, chicken bouillon, dried oregano, dashes of Tapatio, freshly ground pepper, diced garlic, and a bit of lime juice. Bring to a boil, then turn down the heat to medium low, cover and simmer for a couple of hours.

Beans in a bath of yumminess

After a couple of hours, check your beans and make sure they have enough water. If most of the water is already soaked up by the beans, add about 2 more cups, stir, then cover up again. Check again in about an hour. In fact, you can check these babies as often as you want. It’s better to add water as you go than to start out with too much water and have watery beans in the end. You want just enough water to barely cover the top of the beans.


Perfect amount of water

As the onion gets really soft you can remove it. The tomato will disintegrate eventually. Cook beans for another 4 or so hours. Once the beans are really tender and soft they are done.

Done! Perfection!

You can keep them whole or mash them so they act like refried beans. I like to mash. 


Taste them to see if they need salt. If so, add a bit at a time. Over-salting the beans can be bad (I’ve done this) so it’s important to start with just a little. Especially because you’ll want to dip tortilla chips in them and those have salt on them too. Don’t ever salt the beans until after you cook them or they will get tough.

It looks like I'm about to feed you here. I'm sorry about that. It was a really yummy bite.
So, the beans are done! Yeah! Now, what can you do with them?
For the first night I made Chimichangas. Which is basically like a fried burrito. I filled tortillas with beans, cheese and chicken, wrapped them tightly, then fried them in a little bit of oil in a pan. Once they were golden brown on each side, I put them on a baking sheet covered with a paper towel and placed them in the oven on warm, which helps them dry out a bit and stay warm while I cook the rest. Top with guacamole, salsa and dashes of Tapatio. YUM!
These are my favorite new tortillas. They taste like corn but are malleable like flour.

Don't over-fill. You want your ingredients to stay inside.

Just a little bit of oil in the bottom of the pan will make you swear that you are eating a deep-fried burrito, except you can't figure out why you don't feel bad about yourself.

Pop in the oven on a paper towel and keep on warm until ready to serve.

Que Bonita.

After you make your first meal, put the beans in a big bowl and let them cool for a half hour. Then cover with plastic wrap and place in the refrigerator.


Night two: Baked Burritos. Picture us coming home on a Monday evening, house is a mess from the morning hectic rush to get out of the house, kids are throwing their muddy, wet coats on the clean floor, and I cannot wait to get out of these shoes. This one is so easy. Pre-heat oven to 350 degrees, fill tortilla with whatever you want on the inside (leftover chicken, cold beans, cold cheese, jalapeno slices) and wrap into a burrito. Then wrap that in tinfoil, stab a hole for ventilation in the top, and pop in the oven for 45 minutes. If you’re in a rush, use the microwave. Without the tinfoil, obviously.


On the third night Andy was out of town, so I fed the kids bagels for dinner, put them to bed and did what I just LOVE to do when I’m alone: Watch episodes of Glee while eating nachos and drinking wine. I heated a bowl of beans for dipping. It just so happened to be the episode on guilty pleasures. Perfect!

Night four: I’m sick of beans. Let’s take a break.
Night five: one of my absolute favorites! Mexican Lasagna! Take a pie dish, spray with non-stick spray and then layer: One tortilla, top that with a thick layer of beans and cheese, then add another tortilla, top that with chicken, salsa and cheese, then another tortilla, and top that with salsa and cheese. Cover with tinfoil and bake on 350 for about 30 minutes. Then remove the tinfoil and bake an additional 15 or until everything is bubbly and saucy. You can put anything in a Mexican lasagna and layer however you want. Just make sure you use either salsa or enchilada sauce or it will come out too dry.


And that is it, my friends. You truly are only limited by your creativity. And though it may seem intimidating at first, I urge you to try this. With time you'll perfect your very own recipe.
  

Saturday, March 16, 2013

Mama's Perfect Scrambled Eggs


I had an epiphany the other day. It happened when I was feeling really burnt out and out of balance. I had been spending way too much time at work and not nearly enough time at home. My two year old, in retaliation, stopped letting me get him out of bed in the morning and refused to sit on me or snuggle. I was being shunned and although my friends and co-workers assured me his behavior was simply him being a two year old, I knew it was something more.
So I took Friday off and I kept the kids home. We played hookie! I started the day off making “Mama’s Perfect Scrambled Eggs” and then we went to Rocket Donuts and had a donut. And then we went to Boulevard Park and played on the boardwalk and threw rocks into the water. And then we went to Boomer’s Burgers for lunch and all shared a strawberry milkshake. And I’m proud to say that after three straight days of nothing but mommy time, my two year old finally called for me this morning.
No, it doesn’t solve all of my problems of course, but it does reinforce my need for finding balance. And I know I’m not alone in that one.
Anyway, this post is supposed to be about breakfast! The plan had always been to start our day off with Rocket Donuts but I always worry about my children having too much sugar and not enough protein. So I made my famous scrambled eggs. It might seem strange that I’m doing an entire post on something as simple as scrambled eggs, but in the same vein as Megan’s “Perfect Hashbrowns” I strongly believe there are few people out there who actually know how to make good scrambled eggs. It truly is a science. So I thought I’d enlighten you.

Ingredients
eggs
milk
butter

salt
shredded cheddar or jack cheese
Directions
I will scold you throughout these directions. I’m sorry about that but it is necessary.
Scramble your eggs with a little milk in a bowl. Heat nonstick skillet on medium low. Butter pan well. If butter browns the skillet is too hot. The number one key to cooking perfect scrambled eggs is to cook them slowly which means the burner cannot be too hot. After you pour the eggs into the pan wait patiently for a minute. Then, take your spatula and simply scrape it along the bottom of the pan. Do not flip, do not break apart. Scraping the bottom will simply move the cooked parts of egg away from the heat of the pan and make room for the other parts that have to cook. This also helps make the eggs fluffy. When eggs are halfway cooked, sprinkle with salt and stir around a bit. At this point it might be ok to break the eggs up a bit into chunks but don’t over scramble. One of the biggest mistakes I have seen people make, if they get past the too-hot-of-a-burner problem, is that they over-scramble. My husband, for example, makes his eggs into teeny tiny egg bits and that’s just frankly hard to get on a fork, and is not at all fluffy. At the very end of cooking time, sprinkle shredded cheese on the top and turn off the burner. Stir cheese around a bit and let sit until it melts, then stir it around a bit more. The cheese adds a bit of extra flavor and makes the eggs more creamy and oh so delicious!


Heat on medium low and butter a non stick pan well

After a minute or so, simply scrape the cooked eggs off the bottom with a spatula

continue to scrape the bottom until the eggs all begin to cook, then...

Add salt and stir...

Add cheese and turn off burner.

get cheese all melty and stir around and break the eggs up a bit into forkable pieces.

To recap: Cook on low. Butter pan well. Use your spatula to simply move eggs from bottom of pan to top. Do not over scramble. ADD CHEESE!


And, a couple of pictures from our beautiful day...